
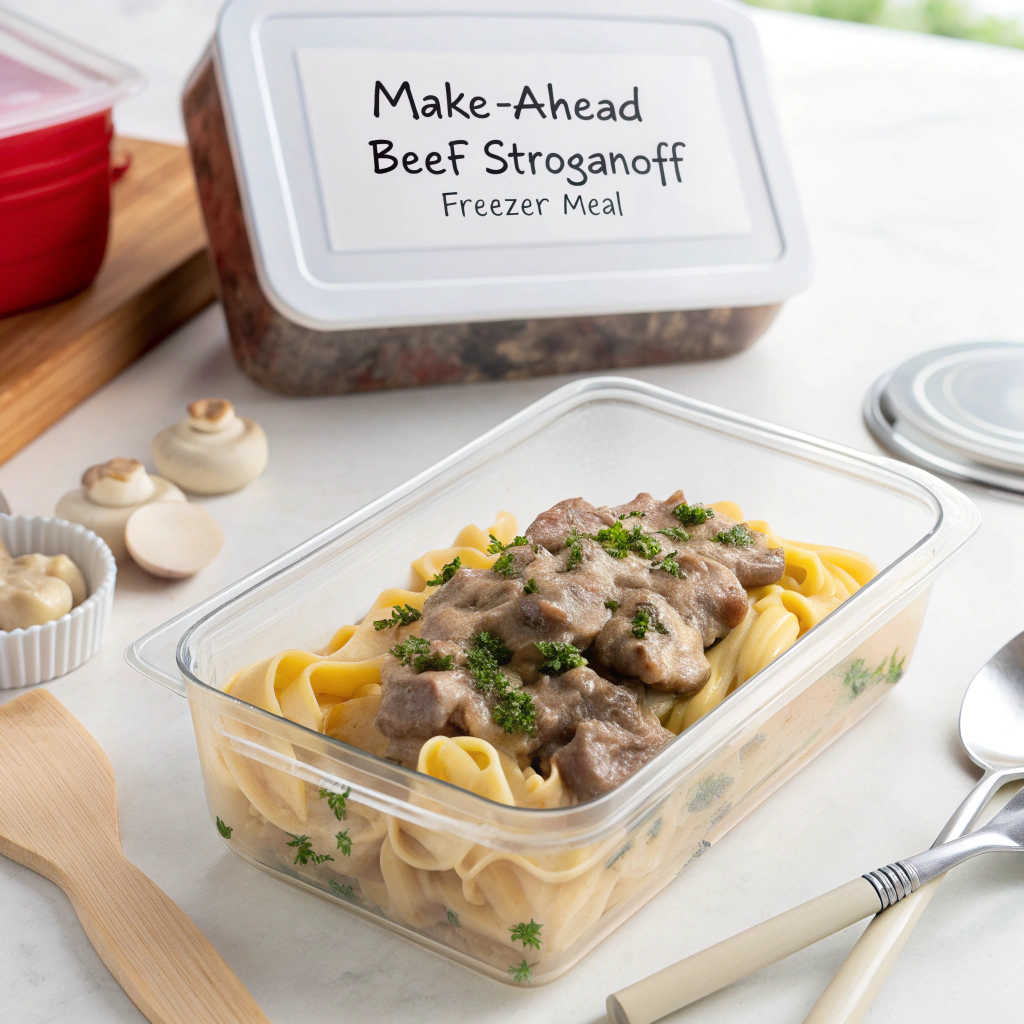
Introduction
What if the richest, creamiest stroganoff you’ve ever had doesn’t come from a last-minute, stovetop scramble—but from your freezer? That question inspired this Make-Ahead Beef Stroganoff Freezer Meal, a prep-and-freeze dinner that tastes like it simmered all afternoon, even when you reheat it on a weeknight. By building flavor up front and finishing with dairy the smart way, this freezer-friendly stroganoff delivers tender beef, velvety mushroom gravy, and perfectly coated noodles—without the stress. In my test kitchen, I keep a few family-size pouches of sauce ready to go; it’s a busy-night habit I recommend to anyone who wants restaurant-worthy comfort food with minimal clean-up.
This method isn’t about shortcuts—it’s about doing the right steps at the right time so your freezer does the heavy lifting. The result is a hands-off dinner that’s consistent, economical, and crowd-pleasing. Let’s cook once, then relax later.
Ingredients List
This Make-Ahead Beef Stroganoff Freezer Meal relies on classic pantry staples and a few pantry boosters for depth.
- Beef: 2 pounds beef sirloin or top round, thinly sliced against the grain
- Substitutions: tri-tip, flank (slice thin and flash-sear), or well-trimmed chuck for extra richness. Ground beef works too; see FAQs.
- Mushrooms: 16 ounces cremini or baby bella, sliced
- Substitutions: white button mushrooms; mix in shiitake for umami.
- Onion: 1 large yellow onion, diced
- Substitutions: shallots for sweetness; leeks for delicacy.
- Garlic: 4 cloves, minced
- Low-FODMAP tweak: use garlic-infused oil and omit fresh garlic.
- Butter: 3 tablespoons, for sautéing and building the roux
- Substitutions: ghee for a nutty note; olive oil for lighter flavor.
- Olive oil: 1–2 tablespoons for high-heat searing
- All-purpose flour: 3 tablespoons to thicken
- Substitutions: gluten-free all-purpose flour, or 2 tablespoons cornstarch (slurry added at the end).
- Beef broth: 3 cups, low sodium
- Substitution: mushroom or bone broth for added depth.
- Worcestershire sauce: 1.5 tablespoons
- Substitutions: soy sauce or coconut aminos for umami.
- Dijon mustard: 2 teaspoons
- Smoked or sweet paprika: 1 teaspoon
- Black pepper: 1 teaspoon, freshly ground
- Kosher salt: to taste (start with 1.5 teaspoons if using low-sodium broth)
- Sour cream: 3/4 cup, added after thawing/reheating
- Substitutions: plain Greek yogurt (full-fat for best texture); dairy-free sour cream or cashew cream.
- Cream cheese (optional): 3 ounces for extra silkiness (also added after thawing)
- Fresh parsley: 1/4 cup, chopped, for serving
- Egg noodles: 12–16 ounces, cooked fresh at serving time
- Substitutions: pappardelle, mashed potatoes, rice, cauliflower rice, or zucchini noodles.
Flavor boosters (optional but recommended):
- 1 tablespoon tomato paste (for savory depth)
- 1 teaspoon fish sauce (stealth umami; you won’t taste “fish”)
- A squeeze of lemon or a splash of sherry vinegar to finish
Timing
This prep-and-freeze workflow is streamlined for busy cooks:
- Prep time: 20 minutes (slice beef and mushrooms, chop onion and garlic)
- Cook time: 22–28 minutes (sear, sauté, simmer)
- Cooling time: 20–30 minutes (for safe freezing)
- Active time total: 45–55 minutes
- Compared to many traditional stroganoff recipes that linger 45–60 minutes on the stovetop, this approach front-loads searing and reduces dinner-hour work by ~20–30%. On reheating night, dinner lands on the table in 15 minutes or less.
Bonus: Batch-cooking two freezer pouches at once adds only ~10 extra minutes to the initial session and halves your per-meal effort later.
Step 1: Prep and season the beef
– Partially freeze the beef for 15 minutes for easier slicing. Slice thinly against the grain (1/4 inch).
– Pat dry and season with 1 teaspoon kosher salt and 1/2 teaspoon black pepper. Toss with 1 teaspoon paprika and 1 teaspoon Dijon (from the measured amounts).
Tip: Dry beef browns; wet beef steams. Paper towels are your secret weapon for a deep sear and rich fond.
Step 2: Sear the beef in batches
– Heat a large, heavy skillet or Dutch oven over medium-high. Add 1 tablespoon olive oil.
– Sear beef in 2–3 batches, 60–90 seconds per side. Do not crowd the pan.
– Transfer to a plate; it will finish cooking in the sauce later.
Tip: Let the fond build. That browned layer on the pan equals flavor—and the base of your gravy.
Step 3: Sauté mushrooms and aromatics
– Add 1 tablespoon butter and the mushrooms. Cook undisturbed for 2 minutes, then stir and continue until browned (5–6 minutes). Salt lightly.
– Add onion with another tablespoon butter; sauté until translucent (3–4 minutes).
– Stir in garlic for 30 seconds until fragrant.
Flavor note: Let mushrooms give up their liquid and concentrate—this prevents a watery sauce later.
Step 4: Build the roux and deglaze
– Sprinkle flour over the mixture; stir to coat. Cook 1–2 minutes until the raw flour smell fades.
– Deglaze with a splash of beef broth, scraping up fond.
– Gradually add the rest of the broth while whisking to avoid lumps.
– Stir in remaining Dijon, Worcestershire, optional tomato paste, and a pinch more paprika. Simmer 3–4 minutes to thicken slightly.
Pro tip: If using cornstarch instead of flour, skip the roux and thicken later with a slurry (2 tablespoons cornstarch + 3 tablespoons cold water) after reheating from frozen.
Step 5: Return beef and simmer briefly
– Add seared beef and any accumulated juices back to the pan. Simmer 2–3 minutes on medium-low; do not overcook.
– Taste and adjust salt, pepper, and acidity (a tiny splash of sherry vinegar brightens).
Important: Keep it saucy. A slightly thinner gravy before freezing reheats to the perfect coating consistency.
Step 6: Cool quickly and safely
– Remove from heat. Stir in 1 tablespoon butter for gloss (optional). Do not add sour cream or cream cheese yet.
– Transfer to shallow containers to cool faster. Aim to cool to 70°F within 2 hours, then to 40°F before freezing (food safety best practice).
– Speed-cooling hack: Set containers in an ice bath and stir occasionally.
Step 7: Package, label, and freeze
– Portion into 2 freezer bags (about 3 cups each) or vacuum-seal pouches for minimal freezer burn.
– Press flat to remove air and stack. Label with recipe name, date, and “Add dairy after reheating.”
– Freeze for up to 3 months for best taste and texture.
Tip: Family-size pouches work well, but consider 2–3 individual pouches for flexible weeknights.
Step 8: Reheat and finish with dairy
– Thaw overnight in the fridge, or reheat from frozen: place the pouch in a covered skillet with 1/4 cup water on low heat, breaking up as it warms.
– Once hot and simmering, remove from heat and stir in sour cream (and cream cheese, if using) until silky. Return to very low heat if needed, but avoid boiling to prevent curdling.
– Cook egg noodles fresh, just shy of al dente. Toss noodles with a little butter, then fold into sauce or keep sauce on top.
Step 9: Taste, garnish, and serve
– Taste for salt, pepper, and tang. Add parsley and a final twist of black pepper.
– Serve immediately while glossy and hot.
Nutritional Information
Per serving (6 servings, including 2 ounces dry egg noodles per person), approximate:
– Calories: 560
– Protein: 34 g
– Carbohydrates: 41 g
– Fat: 25 g
– Saturated fat: 11 g
– Fiber: 3 g
– Sugars: 6 g
– Sodium: 780 mg
Notes:
- Values are estimates based on common ingredients and low-sodium broth. Using chuck instead of sirloin or adding cream cheese will increase fat and calories; swapping in Greek yogurt and whole-wheat noodles shifts macros toward higher protein and fiber.
- Cost estimate: $3.80–$4.60 per serving depending on beef cut, local prices, and dairy choices.
Healthier Alternatives for the Recipe
– Leaner protein: Choose sirloin or top round and trim visible fat. Increase mushrooms to 24 ounces and add 1 cup sliced zucchini for volume with minimal calories.
– Smarter dairy: Use full-fat Greek yogurt in place of sour cream (stir in off heat). For ultra-light, try 1/2 Greek yogurt + 1/4 sour cream to keep flavor.
– Lower sodium: Use low-sodium broth, taste before salting, and finish with acidity (lemon or vinegar) to brighten instead of extra salt.
– Gluten-free: Replace flour with 2 tablespoons cornstarch (slurry at the end) and serve over gluten-free noodles, rice, or mashed potatoes.
– Dairy-free: Finish with unsweetened cashew cream or coconut yogurt alternative; a teaspoon of nutritional yeast adds savory depth.
– Low-FODMAP inspired: Use garlic-infused oil, the green tops of scallions instead of onion, and lactose-free sour cream.
– High-protein tweak: Add 1/2 cup low-fat cottage cheese blended smooth with the sour cream before stirring in off heat.
Serving Suggestions
– Classic: Buttered egg noodles with parsley and a crack of black pepper.
– Potato lovers: Creamy mashed potatoes or crispy smashed potatoes to soak up the gravy.
– Grain base: Buttered rice, barley, or herbed quinoa for a hearty bowl.
– Veg-forward: Spoon over cauliflower mash or roasted spaghetti squash; add steamed green beans or a crisp cucumber-dill salad on the side.
– Texture and pop: Top with minced dill pickles or a spoon of grainy mustard for a Scandinavian twist.
– If cozy pasta dinners are your love language, you’ll also enjoy our weeknight-friendly Cheesy Penne with Garlic Butter Ground Beef—another freezer-aware favorite to keep in rotation.
Common Mistakes to Avoid
– Overcrowding the pan: Steaming prevents browning and weakens the beefy base. Sear in batches for a flavorful fond.
– Adding dairy before freezing: Sour cream or cream cheese can separate and turn grainy after thawing. Always stir in after reheating.
– Skipping the cool-down: Sealing hot sauce traps steam and causes ice crystals and watery texture later. Cool quickly and freeze cold.
– Freezing noodles: Egg noodles get mushy when frozen and reheated. Cook fresh for springy texture.
– Undersalting before freezing: Develop flavor now, then fine-tune after reheating. Underseasoned sauces taste flat post-thaw.
– Boiling after adding dairy: High heat can curdle the sauce. Keep it low and gentle once dairy is in.
– Forgetting to label: Note the date and add “dairy after reheating.” Future you will be grateful.
Storing Tips for the Recipe
– Fridge storage: Keep the cooked sauce (without dairy) up to 3 days in an airtight container. Add dairy at serving time.
– Freezer storage: Up to 3 months for peak quality when packaged flat with most air removed. Vacuum sealing minimizes freezer burn.
– Thawing: Overnight in the refrigerator is best. For quick nights, place the sealed pouch in cold water to speed thawing safely.
– Reheating: Simmer gently on the stovetop. If the sauce seems too thick, loosen with 1/4–1/2 cup broth or water before adding dairy.
– Food safety: Cool to 70°F within 2 hours, then 40°F promptly. Reheat to 165°F. Avoid refreezing once fully thawed.
– Batch strategy: Double the sauce base, freeze in two or three pouches, and vary the finish—one with sour cream, one with Greek yogurt, one dairy-free—to keep weeknights interesting.
– For another freezer-friendly stroganoff method and inspiration on storage workflow, check out this helpful guide.
Conclusion
Make-Ahead Beef Stroganoff Freezer Meal proves that dinner can be both luxurious and low-effort. By building savory layers up front and finishing with dairy after reheating, you lock in tenderness and flavor that’s every bit as good as fresh—often better. Batch a couple pouches this weekend, and you’ll thank yourself on Wednesday.
If you cook this, leave a comment with your tweaks, tag your plate, and rate the recipe to help others find it. Love make-ahead comfort food? Browse our other freezer-friendly dinners and keep your weeknights calm and delicious.
FAQs
Q: Can I freeze stroganoff with the sour cream already mixed in?
A: You can, but texture may become grainy after thawing. For best results, add sour cream (or yogurt) after reheating the sauce.
Q: What cut of beef is best?
A: Sirloin, top round, or tri-tip sliced thin for tenderness and quick searing. Chuck works and tastes great but benefits from thinner slices and brief simmering.
Q: Can I use ground beef?
A: Yes. Brown 2 pounds ground beef thoroughly, drain, and proceed from Step 3. It’s a budget-friendly, kid-approved variation.
Q: How long is it safe in the freezer?
A: Up to 3 months for best quality. It will remain safe longer if deeply frozen, but flavor and texture are optimal within that window.
Q: How do I prevent the sauce from curdling?
A: Remove from heat before adding sour cream, temper with a little warm sauce first, then stir in. Keep heat low and avoid boiling after dairy goes in.
Q: Is there a slow cooker or Instant Pot option?
A: Slow cooker: Sear beef and sauté aromatics on the stovetop, transfer to the cooker with broth and seasonings, and cook on Low 3–4 hours. Cool and freeze; add dairy when reheating. Instant Pot: Sauté to sear and build the sauce base, pressure cook 5 minutes with quick release, then cool and freeze. Add dairy after reheating.
Q: Can I double the recipe?
A: Absolutely. Use a large Dutch oven and sear in more batches. Portion into multiple flat pouches for faster thawing and flexible servings.
Q: Do I have to use egg noodles?
A: No. Serve over rice, mashed potatoes, spaetzle, or cauliflower mash. Whole-wheat noodles or pappardelle are great too.
Q: I don’t like mushrooms—can I omit them?
A: Yes, replace with caramelized onions or extra beef. Add umami with a little soy sauce or Worcestershire to make up for mushroom depth.
Q: Can I thicken without flour?
A: Use a cornstarch slurry (2 tablespoons cornstarch + 3 tablespoons cold water) and stir into the hot sauce after reheating, just before adding dairy.
Q: Can I reheat from frozen without thawing?
A: Yes. Heat gently in a covered skillet with a splash of water or broth, breaking it up as it warms. Once hot, remove from heat and add dairy.
Q: What should I cook first on serving night?
A: Start your noodle water. While it heats, rewarm the sauce. Both will finish around the same time for a hot, glossy plate.